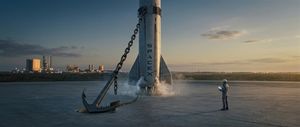
Tired of boring slideshows and clunky AI videos? In this guide you'll find actionable steps for selecting and preparing images that consistently produce professional-quality output — regardless of which AI video tool you use.
What Is Image-to-Video AI and Why Does Image Choice Matter?
Image-to-video AI turns static photos into dynamic videos, but the source image makes or breaks your results. A well-lit portrait can transform into an engaging clip that captures attention, while a cluttered photo produces chaotic, hard-to-follow output. The quality of your original image directly influences clarity, engagement, and the overall effectiveness of the final video.
Image selection also impacts workflow speed. Choosing the right images from the start reduces the need for corrections later — streamlining production whether you're working manually or using an automated platform.
What Makes an Image 'Best' for AI Video Conversion?
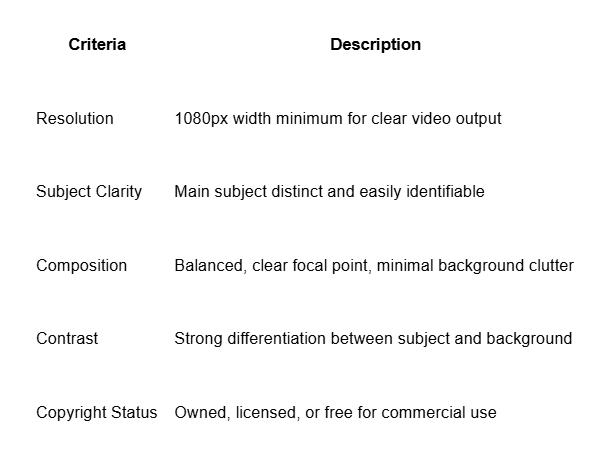
Top images share five traits: resolution, subject clarity, composition, contrast, and copyright status.
Quick Checklist:
Resolution: 1080px+ width
Subject Clarity: single subject focus
Composition: minimal clutter
Contrast: strong subject-background differentiation
Copyright: verified ownership or licensing
How Do You Select and Prepare Images for AI Video?
Pick the Right Image Start with a high-resolution image (at least 1080px wide) featuring a clear subject and good lighting. Minimal clutter helps the AI focus on what matters.
Edit for Clarity Use Canva or Photoshop to adjust brightness, contrast, and color saturation. A well-edited source image reduces the number of generation iterations needed — especially important when producing multiple videos in one session.
Crop and Resize Crop to remove unnecessary background elements and resize to your target aspect ratio: 16:9 for YouTube, 9:16 for TikTok and Reels, 1:1 for Instagram feed.
Background Clean-Up Use background removal tools (Canva's built-in remover works well) to eliminate distractions. A clean background produces smoother AI-generated motion and more natural-looking animation.
Compress and Export Compress to reduce file size without sacrificing quality, then export as JPEG or PNG. This ensures faster uploads and compatibility with any AI video platform.
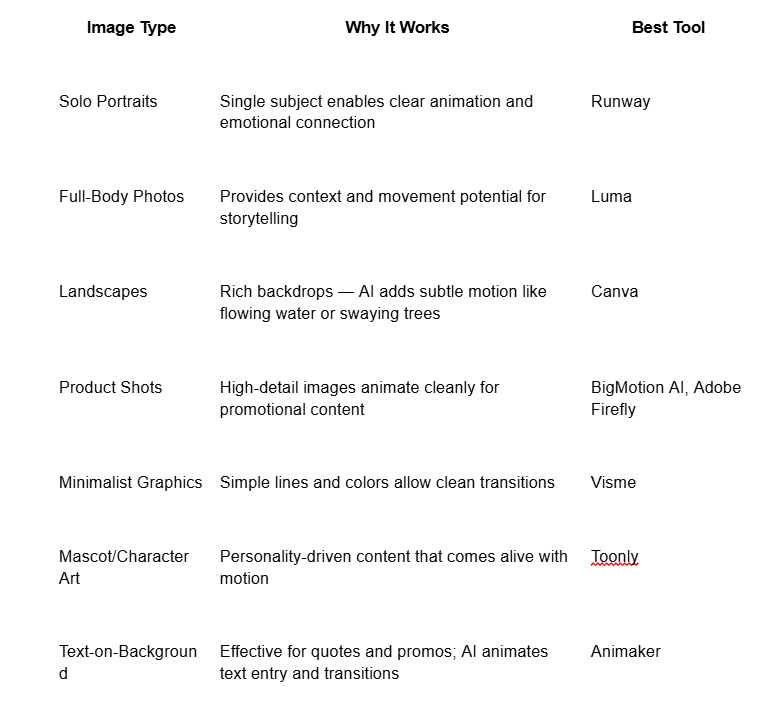
Which 7 Image Types Work Best for Image-to-Video AI?
What Are the Most Common Mistakes (and Quick Fixes)?
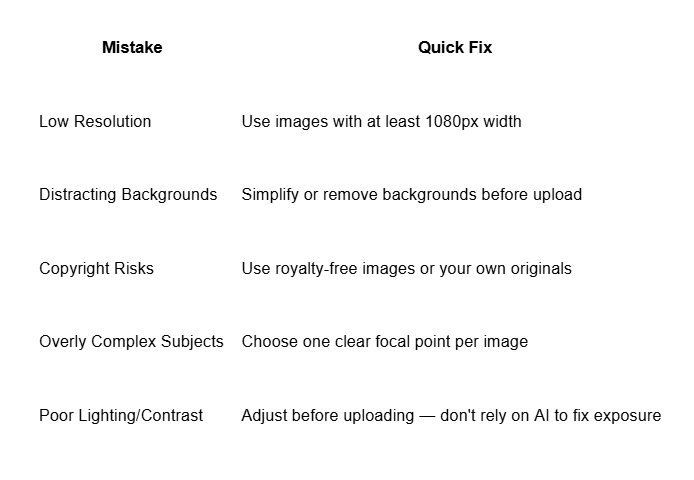
If your generated video looks off, the fix is almost always in the source image, not the prompt. Go back to steps 2–4 above before regenerating.
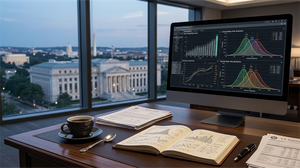
How Do You Optimize Images for Better AI Video Results?
Optimizing before upload multiplies quality and saves hours in post-editing.
Color Grading: Use Adobe Premiere Pro or DaVinci Resolve to balance color and saturation. Proper grading ensures images translate accurately into video format without color shifts during animation.
Layer Cleanup: Remove unnecessary layers or elements in Photoshop or Canva before uploading. Clean files produce cleaner motion.
Consistent Aspect Ratio: Maintain the same ratio across all images in a batch to prevent distortion. Kapwing handles resizing well while preserving quality.
Batch Optimization Checklist:
All images at least 1080px wide
Clear focal point in every image
Uncluttered backgrounds throughout
Copyright verified for all assets
Consistent aspect ratio across the batch
How Does Image-to-Video AI Fit into a Pro Workflow?
Efficient teams follow this sequence: Select Edit Batch AI Upload Video SEO Auto-post
Batching alone saves up to 40% of production time by eliminating repetitive individual tasks. Preparing SEO tags early ensures discoverability as soon as content goes live. Automation handles the rest — transforming pre-optimized images into platform-ready videos without manual rendering at each step.
FAQs
Can AI make a video from an image? Yes. AI analyzes image content, applies motion effects, and generates animation automatically. Most tools require only an image upload and a short prompt or style selection.
How do I make a photo move like a video using AI? Upload your image to an image-to-video platform, write a short motion prompt or select a style preset, and generate. Some platforms also let you add background music to reinforce mood before exporting.
What are the best free images to use for AI video? High-resolution, clearly composed images with minimal background clutter. Unsplash and Pexels offer strong options. For commercial projects, verify that the license covers video use — or shoot your own originals for zero copyright risk.
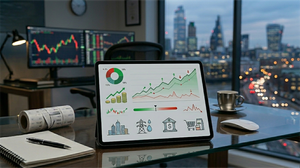
How Can Automation Transform Image-to-Video Workflows?
Most creators waste over 40 hours a month prepping and posting image-based videos. Automation tools compress this dramatically.
Manual production typically runs $60–$120 per video and takes 2–3 hours. Platforms like BigMotion AI compress that to around 5 minutes per video at $19–$69/month — a meaningful difference for anyone producing content at volume. For social media managers handling daily series or faceless content channels, that time compounds quickly into tens of hours saved each month.
The workflow shift is straightforward: instead of selecting, editing, rendering, and posting each video individually, you batch-prepare your images once, upload them, and let the platform handle generation and export.
Next Steps for Pro Image-to-Video Success
Run your next image batch through the checklist above — fix resolution, clarity, and background issues before they become generation problems.
Test two tools from the comparison table — start with a product shot or solo portrait for the cleanest first result, and compare output quality against your current workflow.
Track engagement by image type — over 7 days, compare performance across portrait, product, and landscape inputs. Your own audience data beats any general recommendation.
Build your batch pipeline — once you've identified your best-performing image type and style, produce a week of content in a single session. That's the workflow that scales.